

Wood wall decor means decorative pieces made mainly from timber, reclaimed boards or wood-based panels and displayed on a wall. It adds warmth and texture without a major renovation. These 15 wood wall decor ideas cover carved panels, geometric mosaics, woven frames, mirrors, plants and reclaimed wood. Whether you have a rented flat, small bedroom, hallway or spacious living room, choose a piece that suits the wall, budget and mounting options. If drilling is prohibited, favour a small piece displayed on existing stable furniture instead of trusting adhesive strips with heavy timber.
Quick Takeaway: Best Wood Wall Decor for Your Space
Small rooms: try shallow carved panels, narrow hangings or vertical slats. Large walls: consider layered arches, a geometric mosaic or a wooden mirror sculpture. Pick one focal point, coordinate two or three finishes, and check the wall type and total weight before hanging. Use the comparison guide below to choose a suitable project.
15 Unique Wood Wall Decor Ideas for Different Rooms and Styles
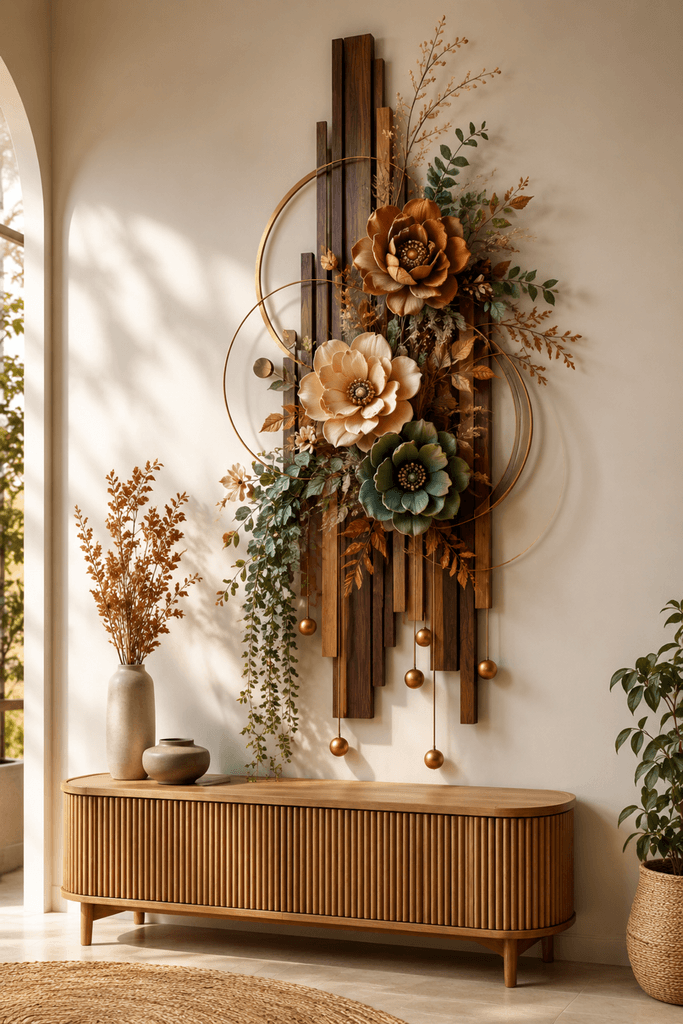
1. Wood and Floral Wall Sculpture
Pair a carved wooden panel with a small cluster of dried stems or artificial flowers. Choose one dominant wood tone and one or two soft accent colours, such as sage or dusty rose. Position the arrangement slightly off-centre for a relaxed look. Above a console table, leave enough clearance for bags and coats. Test the arrangement on a table and photograph it before attaching the stems. For a busy entryway, keep the finished sculpture shallow enough that coats and bags will not brush against it; choose removable artificial stems if you want to change colours seasonally.
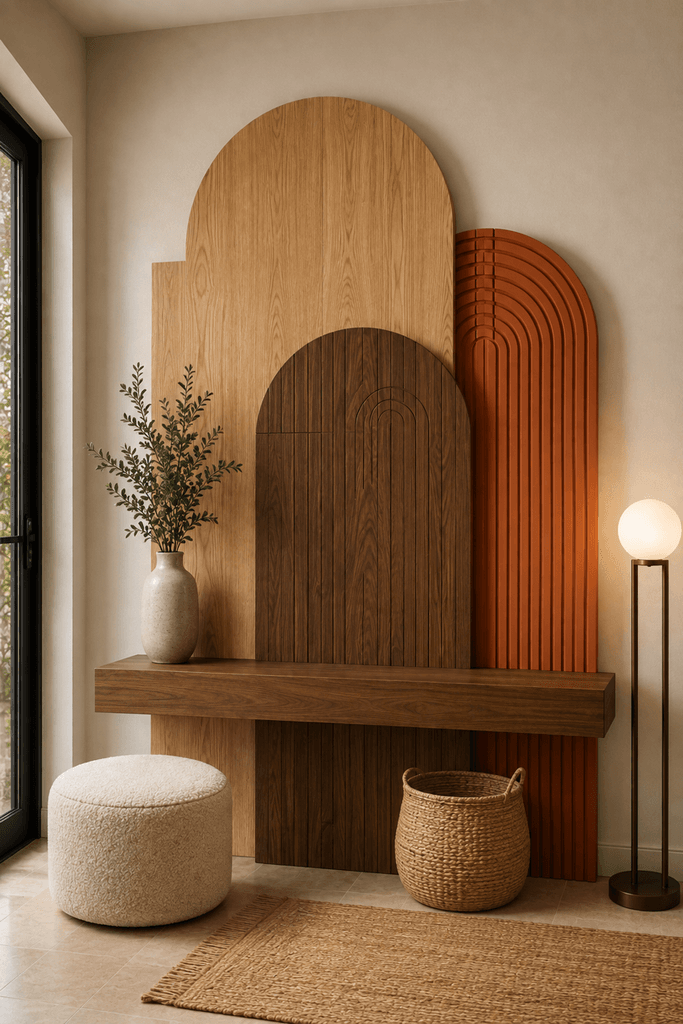
2. Layered Wooden Arches
Arrange two or three lightweight wooden arches in overlapping sizes on a single backing board. Combine walnut, pale oak and a restrained painted accent such as cream or terracotta. Test the composition on the floor before mounting it so the layers remain balanced. Leave the arches unadorned for a clean, modern look, or add one small metal ring, dried branch or ceramic accent. Keep heavier embellishments securely attached to the backing rather than the wall-facing edges. Try it: Cut paper templates of two or three arches and test the overlap on the floor before transferring the design to a backing board.
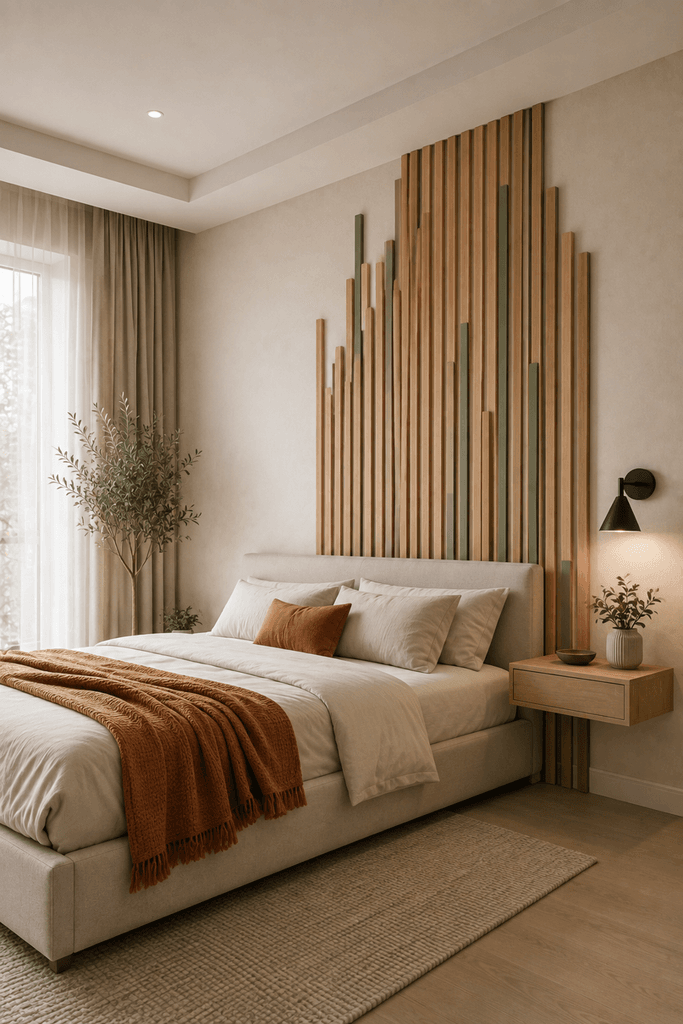
3. Vertical Wood Slat Artwork
Instead of covering an entire wall, group several narrow slats into a single decorative panel. Vary their heights for rhythm and place a small mirror or sculptural object nearby. Use a suitable backing and fixings rather than attaching heavy timber directly to plasterboard without checking the load. Try it: Lay five to seven slats on a flat surface, vary their heights, and leave consistent gaps before securing them to a backing.
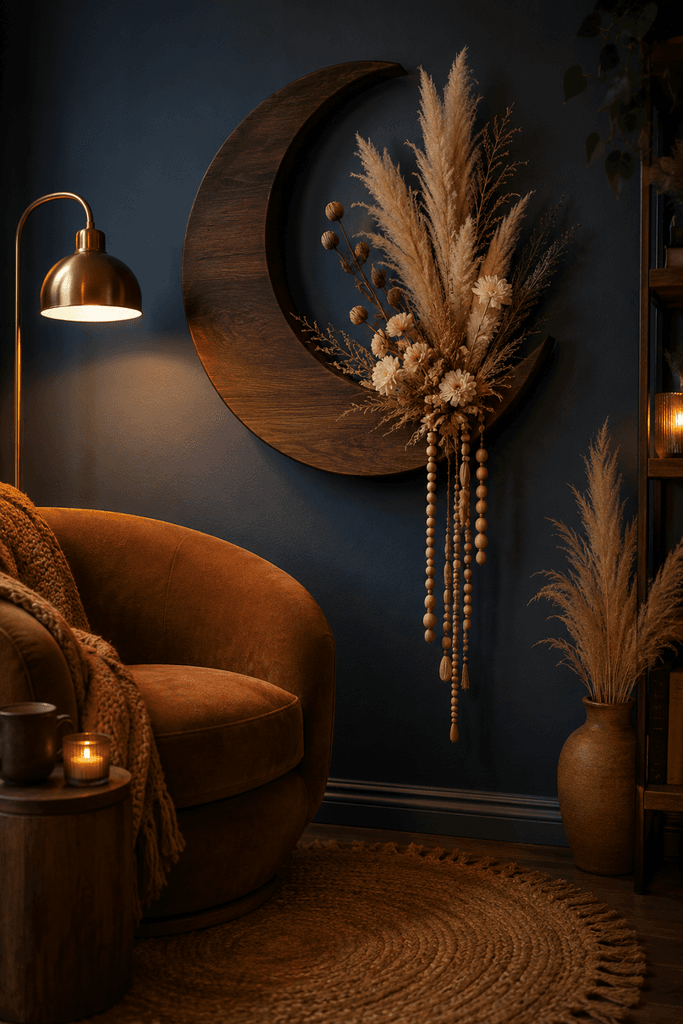
4. Wooden Crescent Moon Decor
A wooden crescent moon paired with dried flowers or a few wooden beads makes a gentle bedroom accent. Choose walnut for contrast or pale wood for a softer look. In nurseries, mount the piece securely well away from cots and children’s reach; avoid loose cords, beads or small detachable parts. If the decoration will be within a young child’s reach, use a flat printed or painted moon motif instead of a piece with detachable ornaments. Wood can also be used for larger accent treatments, from slatted features to geometric wall designs. The Spruce has additional wood accent wall ideas that show how different wood treatments can add texture and character to a room.
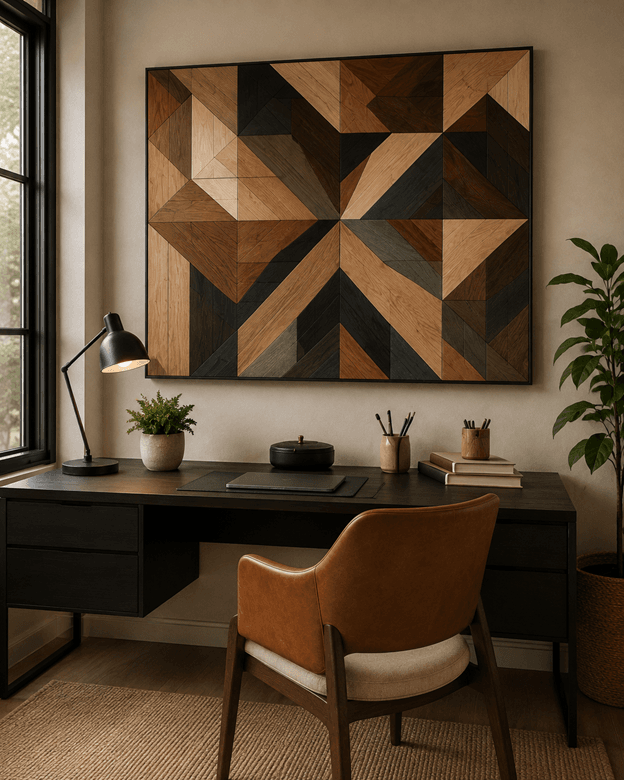
5. Geometric Wood Mosaic
Arrange triangles or diamond-shaped wood pieces on a flat backing board before gluing. Combine natural grain with one muted painted shade, and test the pattern in a small sample first. Sand sharp edges and follow the adhesive manufacturer’s instructions. A geometric wood mosaic can add movement and texture to any contemporary living room or home office. Try it: Sketch a repeatable pattern with two wood tones, dry-fit a small grid of pre-cut pieces, and number the backs before lifting them. Attach the pieces to a rigid backing according to the adhesive instructions, then let the assembly cure fully before mounting.
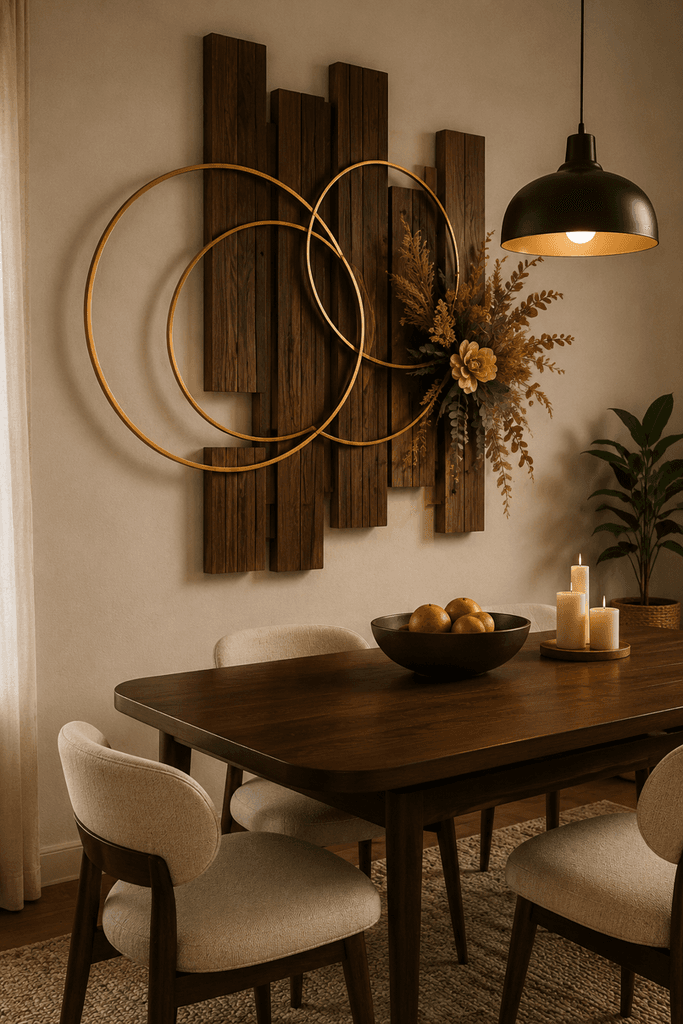
6. Wood and Metal Circle Composition
Layer thin metal rings in black, brass or bronze over a wooden backing to create contrast. Keep the rings attached to a sturdy base rather than relying on decorative glue alone for heavy components. One small botanical accent is enough to finish the composition. The contrast between warm wood and cool metal creates an elegant contemporary effect. Try it: Arrange one large ring and two smaller rings, mark the contact points, then check sharp edges and secure attachments. Lift the assembled backing gently before hanging; if the rings shift or twist, improve their mechanical support rather than relying on extra decorative glue.
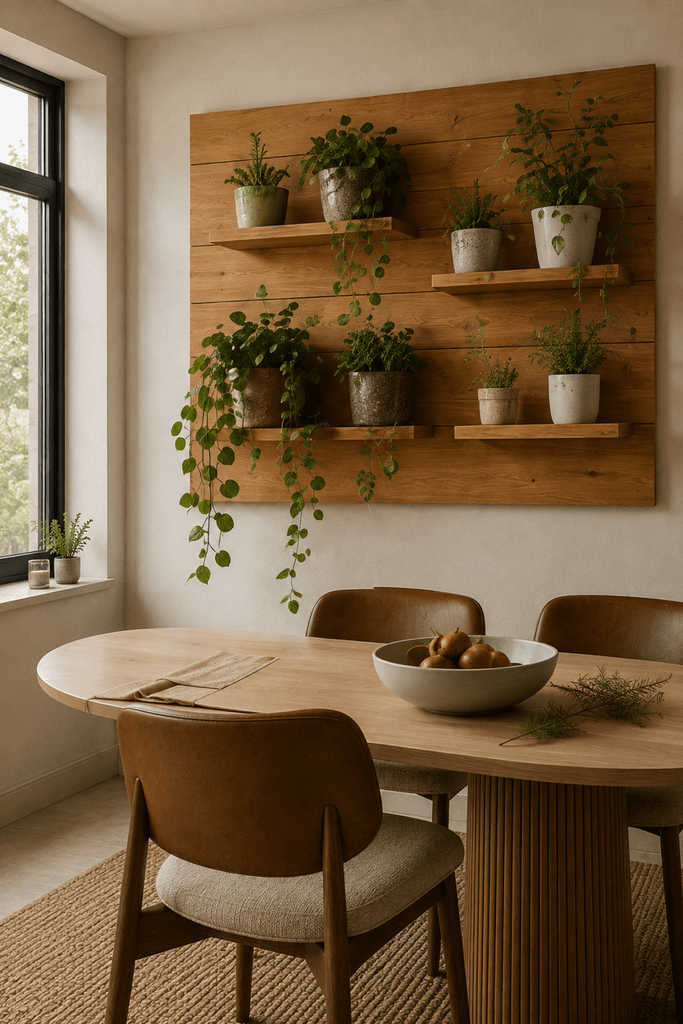
7. Floating Wooden Plant Display
Mount a narrow wood panel with one or two small plant holders to create a living display. Use drip trays, protect unfinished wood from moisture and leave room to water plants without splashing the wall. Check the weight of pots, soil and water before choosing anchors. For complementary styling, explore our living room decor ideas. Try it: Place the empty pots on the panel to test spacing, then estimate the loaded weight with soil and water rather than weighing only the dry containers. Choose rated supports for that load, add drip trays and check that watering will not soak the wall. Test the arrangement with the actual filled pots at floor level first, and choose a freestanding plant stand if wall moisture or mounting strength is uncertain.
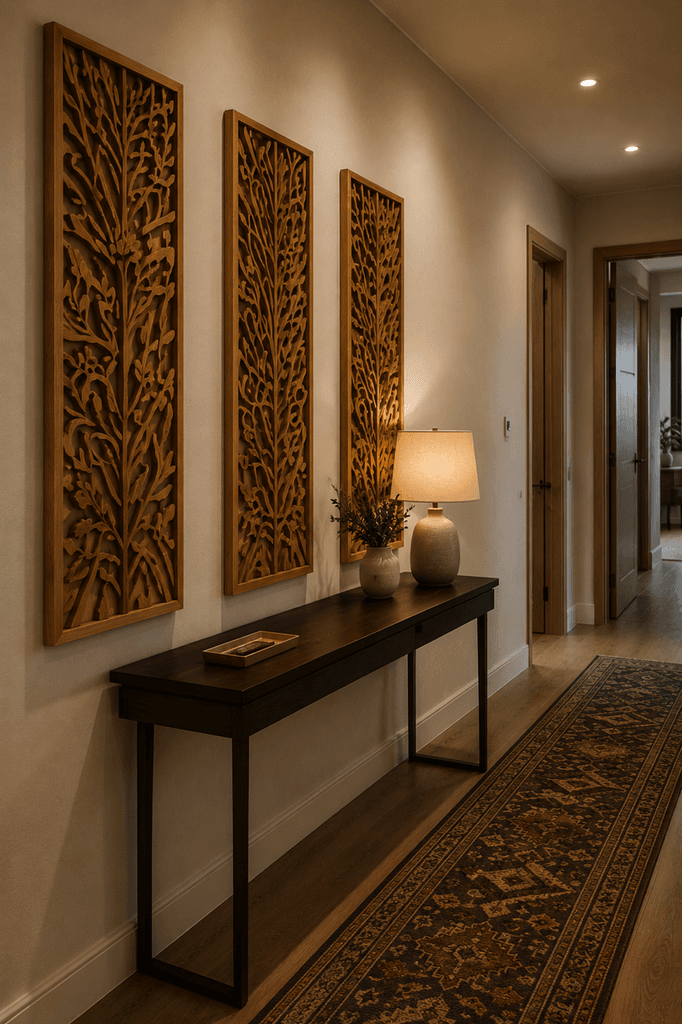
8. Carved Botanical Wood Panel
Choose a shallow carving of leaves or vines for subtle texture, or a deeper relief for a bolder focal point. Before buying, tape a paper template of the same dimensions to the wall to check the scale. For pieces above a sofa or bed, use secure fixings rated for the panel’s weight and wall material. Try it: Tape a paper rectangle matching the panel’s size to the wall and view it from the doorway and sofa before choosing. If the template visually crowds a narrow room, try one smaller panel or move the art above existing furniture rather than filling the entire wall.
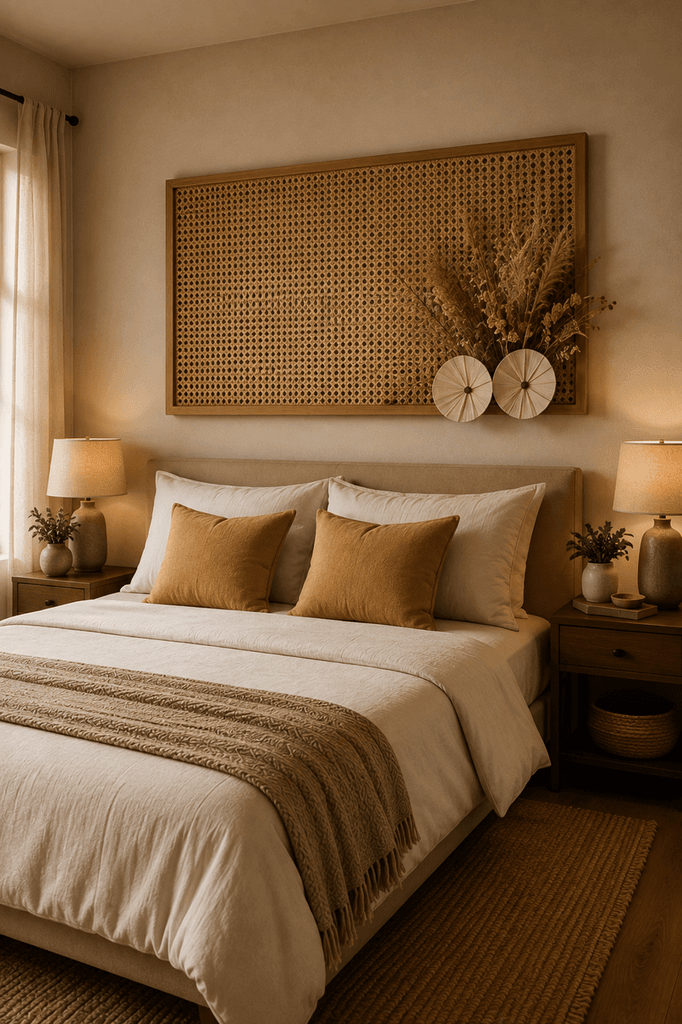
9. Wooden Frame With Woven Centre
Make a simple wooden frame around cane, rattan or textured fabric. Stretch the woven material evenly and secure it from behind so staples and rough edges are concealed. A lightweight frame works well in a narrow hallway or above a console; add one small removable accent if you want to change the display seasonally. Try it: Cut the woven insert slightly larger than the frame opening, fasten opposite sides in turn to keep it even, and cover any sharp staples on the back. Lift the completed frame by its hanger to check balance before mounting.
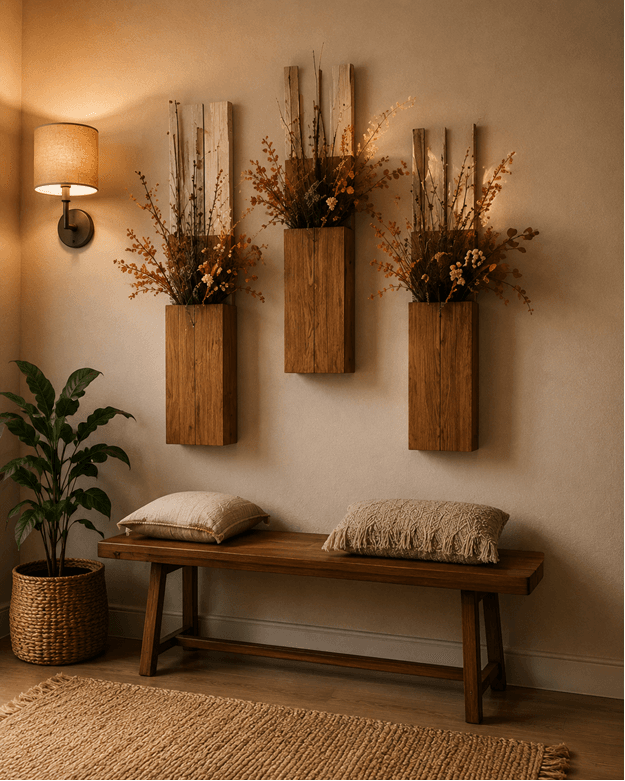
10. Wood Wall Pocket for Seasonal Decor
Use a slim wooden pocket to hold lightweight dried stems or artificial greenery, then swap the contents with the seasons. Keep unsealed wood away from water and check the mounting before filling the pocket. Start with a few branches of different heights rather than packing the holder tightly. Try it: Start with three lightweight dried stems at different heights. Avoid adding water to an unlined wooden pocket. Use dried or faux foliage for a low-maintenance version, and empty the pocket before dusting so the mounting is not strained.
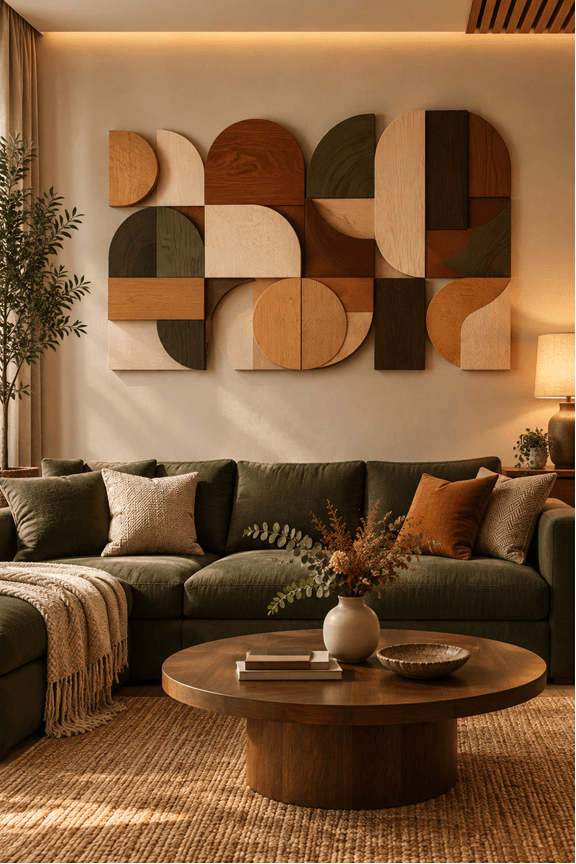
11. Abstract Wood Cutout Art
Arrange smooth wooden curves, arches and waves on a backing board before fixing them. Leave negative space between shapes and paint only one or two sections in muted olive, clay or cream. Sand rough edges and use appropriate protection when cutting or finishing wood. This flexible project suits a bedroom or home office. Try it: Trace two or three shapes on paper, test their spacing, and mark the positions on the backing board before cutting. Beginners without appropriate cutting tools can use pre-cut craft shapes on a lightweight backing; check the finished weight and smooth every edge before display.
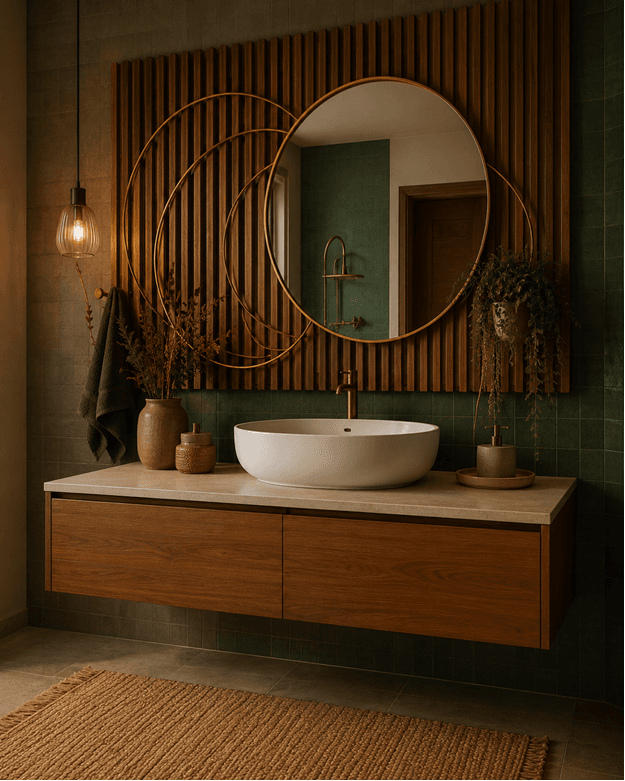
12. Wooden Mirror Sculpture
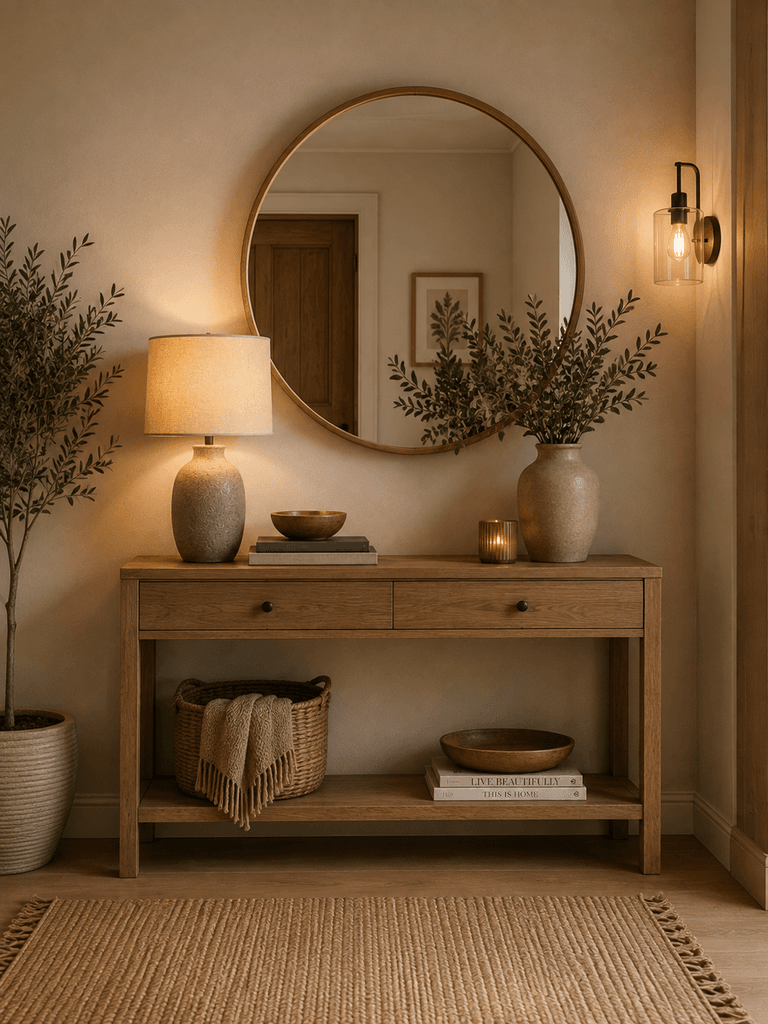
Frame a mirror with slim wooden strips or curved offcuts for a sculptural effect. Support the mirror with fixings rated for its weight; decorative glue alone is not a safe way to mount heavy glass. Check that doors cannot strike it. Try it: Mark the mirror’s full outline on the wall with paper, confirm sightlines and clearance, and use a purpose-made mirror hanging system rated for the glass and wall rather than decorative adhesive. In a compact room, see our small bedroom layout ideas for ways to use mirrors without crowding walkways, plus mirror wall decor ideas for a small living room for framing inspiration.
13. Hanging Wood Bead Installation
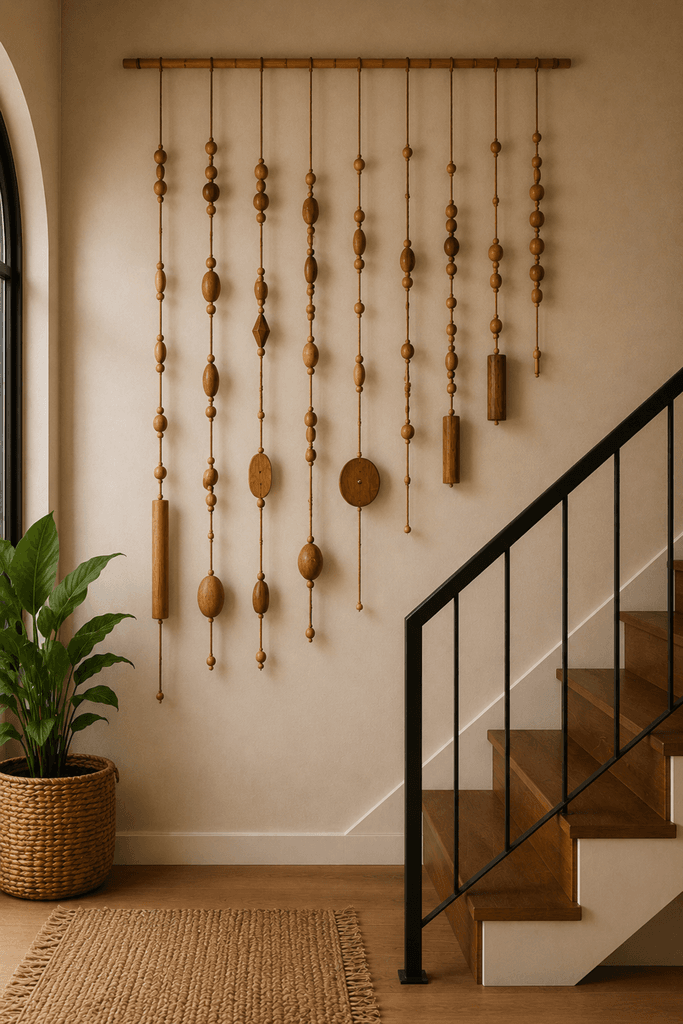
Thread lightweight wooden beads or carved shapes into strands of different lengths. Hang the finished piece away from door swings, heaters and snagging points. Dangling cords and small beads can be dangerous for young children, so keep the installation well out of reach and never place it near a cot. Try it: Plan three short strands on a table, secure each end so beads cannot slip free, and choose a solid wood panel instead if children could reach or pull the hanging. In a high-traffic hallway, a fixed shallow panel also avoids snagging on bags or coat sleeves.
14. Reclaimed Wood Story Wall
Arrange old drawer fronts, weathered boards or carved trim into a group that repeats one colour or shape. Remove protruding nails, check for splinters and inspect for pests. Safety: painted timber salvaged from older buildings may contain lead-based paint. Avoid sanding or cutting suspect coatings without expert advice; the US EPA’s lead-safe renovation guidance explains risks associated with disturbing paint in pre-1978 US homes. Try it: Sort salvaged pieces by size and condition, discard pieces with loose paint or protruding hardware, and arrange the remainder on the floor before choosing a secure backing. Do not sand or cut uncertain old painted finishes; seek appropriate specialist advice instead. If the source or finish of a salvaged board is uncertain, choose clean, unfinished craft timber or a ready-made lightweight panel rather than disturbing a suspect coating.
15. Wood, Clay and Botanical Statement Piece
Combine narrow wood strips with lightweight clay flowers, ceramic leaves or artificial foliage on one sturdy backing. Sketch the composition, place the largest element slightly off-centre, then add smaller accents. Limit the palette to two or three muted colours and use proper fixings rather than relying on decorative glue to support heavy ceramic parts. Try it: Draw the design at full size, dry-fit each piece and use lightweight clay or faux botanical accents where possible. Follow the adhesive’s material and cure-time instructions, then weigh the finished board and choose suitable wall fixings. If ceramic accents make the assembly too heavy for your wall, substitute lightweight faux-clay details or display the composition on a stable shelf instead.
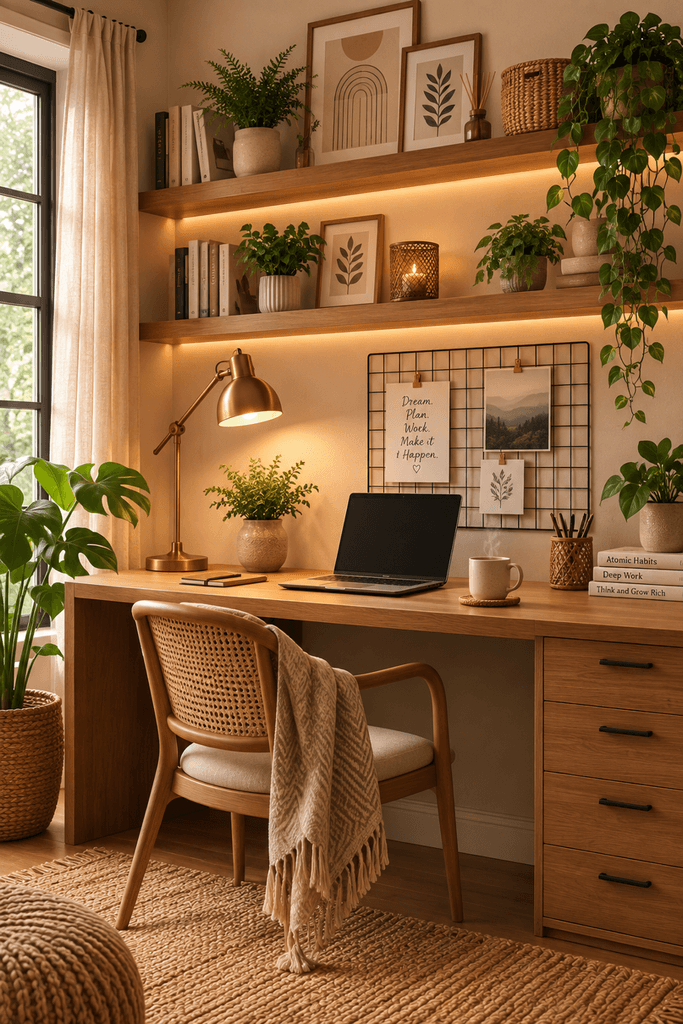
Room examples: In a rental bedroom, use a lightweight woven frame and check the lease. In a narrow hallway, test a shallow panel with a paper template and confirm door clearance. In a family room, prefer securely mounted artwork without loose beads or cords within children’s reach.
Three Beginner-Friendly Wood Wall Decor Projects
Want to make unique wooden wall decor rather than buy it? Start with a lightweight project that suits your tools and wall. A woven frame is an easy option for renters, a small geometric mosaic suits a focal wall, and a wooden pocket makes a seasonal botanical display. Pre-cut materials can reduce the need for power tools; always check the finished weight before choosing how to hang a piece.
Project A: Woven Wooden Frame for a Rental
Materials: a small wooden frame, cane webbing or sturdy fabric, scissors and appropriate fasteners for the insert. Cut the insert a little larger than the opening, secure it neatly behind the frame and cover any exposed sharp points. Where it works: narrow hallways and bedrooms that need texture without a bulky shelf. Check the frame’s finished weight and the tenancy rules before hanging; removable strips are suitable only when the product instructions allow that surface and load.
Project B: Geometric Mosaic from Pre-Cut Wood
Materials: smooth pre-cut wooden shapes, a rigid backing board, pencil and an adhesive suitable for the materials. Arrange triangles or rectangles into a repeatable pattern, photograph the layout, then attach each piece according to the adhesive instructions. Allow it to cure completely before hanging. Where it works: a living room or home office that needs one distinctive focal point. Avoid sanding or cutting old painted timber of unknown origin; suspect finishes may require specialist assessment.
Project C: Seasonal Wooden Botanical Pocket
Materials: a shallow wooden wall pocket, dried stems or artificial foliage and fixings appropriate to the wall. Test the arrangement on a table, keep the contents light and secure the pocket before filling it. Where it works: beside an entryway console or on a small accent wall. If you want live plants instead, use a watertight liner and account for the extra weight of water and wet soil; choose a tabletop planter if the wall cannot support that load.
Choosing Wood, Finishes and Wall Fixings
Renters: favour shallow, lightweight pieces and check lease restrictions. Small rooms: avoid projections into walkways and door swings. Statement walls: mock up the full dimensions with paper before buying timber. Homes with children: avoid accessible cords, beads and sharp edges. For every project, weigh the finished artwork, identify the wall construction and follow the fixing manufacturer’s load instructions. Heavy mirrors, shelves or overhead installations may need professional help; decorative adhesive is not a substitute for structural support.
Which Wood Wall Decor Idea Should You Choose?
Match the idea to your space and experience using this quick comparison.
| Room or goal | Suggested idea | Benefit | Check first |
|---|---|---|---|
| Narrow hallway or bedroom | Slat artwork or shallow carved panel | Texture without using floor space | Clearance and fixings |
| Large living-room wall | Layered arches or mosaic | One substantial focal point | Scale and total weight |
| Rental or beginner DIY | Lightweight woven frame | Easy to move and restyle | Landlord rules and mounting limits |
| Sunny room | Wooden plant display | Greenery and practical display | Water protection and load |
| Reused-material style | Reclaimed wood story wall | Personal character | Splinters, nails and old paint |
Match the Project to Your Time, Tools and Budget
For a low-cost, low-tool update, start with an existing lightweight frame, fabric offcuts or a small pre-made wood ornament. Arrange the materials on a table, test their scale with a paper outline, and choose a hanging method approved for the wall and finished weight. Reusing a frame is usually simpler than building a large timber feature from scratch.
For a manageable weekend DIY, consider a geometric panel made from pre-cut wood pieces or a small wooden botanical pocket. Allow time for layout, assembly, adhesive curing and a safe mounting check. Include backing, finishing materials and suitable hardware in your shopping list; a project is not complete just because the decorative surface looks finished.
For a large or heavy statement piece, such as a substantial mirror, layered timber installation or ceramic-and-wood sculpture, plan the wall fixing before purchasing materials. The total load includes the backing, attachments and any contents. If you cannot confirm the wall construction or safe fixing method, choose a lighter design or ask a qualified installer. Do not substitute adhesive strips for hardware required by the manufacturer.
Avoid Three Common Wood Wall Decor Mistakes
- Choosing the design before the location: A deep sculpture may look good in a product photo but catch coats or bags in a narrow hallway. Tape up a full-size paper outline and check the walking route. For more space-conscious layouts, see our small hallway ideas.
- Mixing finishes without a plan: Compare wood samples in the actual room at different times of day. One main tone plus a smaller contrasting accent is easier to coordinate than several unrelated stains.
- Ignoring upkeep: Before mounting a plant holder, woven insert or reclaimed board, consider dusting, moisture, splinters and how you will inspect the fixings later. Choose a simpler piece when the location makes routine care difficult.
Seven Steps to Plan and Hang Wood Wall Art
- Measure the open wall and note furniture, walkways and door swings.
- Set a project limit using materials you have, a realistic budget and the time available.
- Mock up the arrangement using paper outlines or a floor layout and photograph it before cutting.
- Prepare safely by following paint and adhesive instructions, using suitable ventilation and avoiding suspect old painted coatings.
- Weigh the completed piece, including mirrors, wet soil, pots or ceramic accents.
- Choose fixings rated for the wall material and load, following manufacturers’ instructions; seek professional help for heavy or overhead pieces.
- Inspect edges and stability, keep cords or small detachable parts away from children, and periodically recheck fixings. For tall furniture that could tip, see CPSC Anchor It! safety guidance.
Wood Wall Decor Sizing: Three Worked Room Examples
How big should wood wall art be? Start with the usable wall area, not the overall room size. Measure between corners, switches, door swings and nearby furniture. Make a paper outline at the size you are considering, tape it temporarily in place and view it from the doorway and the seat you use most. The measurements below are illustrative starting points, not universal hanging rules.
Example 1: A Narrow Hallway Wall
Suppose the clear section of wall is about 100 cm wide. Mock up a shallow 45–60 cm artwork rather than filling the entire width with a deep shelf. Open the nearest door and walk past carrying a bag. If the frame or plant holder projects into that route, switch to a flatter slat panel or woven frame. A small wall can look deliberate with one piece and visible space around it.
Example 2: A Living Room Above a Sofa
For an illustrative 200 cm-wide sofa, compare paper outlines around 110 cm and 140 cm wide before committing to a layered arch or geometric mosaic. Photograph both from the room entrance; the larger option may suit a broad wall, while the smaller may leave better breathing room near lamps or windows. Check head clearance, the artwork’s finished weight and the correct fixings for the wall. Avoid placing heavy or insecure pieces over seating.
Example 3: A Rented Bedroom With No Drilling
If a dresser leaves a 90 cm-wide section for decor, test a lightweight woven frame or a small botanical panel on a stable tabletop instead of assuming wall adhesive is safe. Removable hanging products have specific surface and load limits; check both the product instructions and your lease. If the finished piece is heavy, has a mirror or contains loose beads, choose a safer location and suitable permanent fixings rather than improvising.
Choose a Wood Material and Finish You Can Maintain
The best-looking design is not always the easiest to keep clean or secure. Match the material to the room’s moisture, sunlight, cleaning needs and how often the piece will be moved.
| Material or design | Where it works | Care and safety check |
|---|---|---|
| Solid wood or carved panel | Dry living rooms and bedrooms | Dust gently; check weight and hardware; avoid prolonged dampness. |
| Reclaimed painted timber | Rustic displays after inspection | Check nails, pests and coatings; do not sand suspect old paint. |
| Lightweight woven frame | Rentals and narrow walls | Brush dust away; keep fibres dry and check frame attachments. |
| Wood with mirror or metal | Statement focal points | Check sharp edges, glass support and rated mounting hardware. |
| Wooden plant holder | Bright walls away from walkways | Use drip protection and allow for wet soil and pot weight. |
Maintenance check: Once a month, look for loose fixings, warping, moisture marks or detached embellishments, particularly on pieces near doors or used by children. Follow the finish maker’s cleaning instructions rather than soaking wood or using harsh cleaners. If a wall is persistently damp, choose a material designed for that environment instead of untreated timber.
How to Style Wood Wall Decor
Measure the open wall and consider the furniture below it before selecting artwork. One well-scaled piece above a console usually feels calmer than several crowded objects. Repeat a colour from the wall piece in a cushion or ceramic accessory. Renters should check drilling restrictions and consider lighter alternatives. For practical ideas, explore our small space organization hacks.
Choosing the Right Wood Tone
Pale oak or ash suits airy Scandinavian and coastal schemes, while walnut or dark stains offer contrast. Medium warm wood works well in cosy modern rooms. Mix finishes intentionally: pick one dominant tone and repeat a secondary tone in furniture or accessories. See the Homes & Gardens guide to decorating with wood for more examples.
Wood Wall Decor Checklist Before You Hang Anything
- Measure the open wall area and choose a piece that leaves comfortable breathing room around furniture and edges.
- Limit the palette to two or three coordinated wood tones or finishes so the display feels intentional.
- Match the mounting hardware to the wall type and the weight of the decor; use suitable anchors or studs for heavier pieces.
- Lay multi-piece arrangements on the floor first to check spacing, balance and the overall silhouette.
- Repeat one material or colour from the wall piece elsewhere in the room to connect the display with the surrounding decor.
Frequently Asked Questions About Wood Wall Decor
What are some unique wooden wall decor ideas?
Unique wooden wall decor can include layered panels, geometric designs, carved pieces, floating shelves, framed wood compositions, slatted features, and mixed-material designs that combine wood with metal, paint, or greenery.
How do you choose wood wall decor for a room?
Match the scale of the piece to the wall and repeat one or two tones already used in the room. Lighter woods can keep a compact space airy, while darker woods create stronger contrast and work well as a focal point.
How can wooden wall decor look modern instead of rustic?
Choose cleaner lines, simple shapes, restrained finishes, and fewer decorative details. Geometric patterns, slim slats, smooth panels, and combinations of wood with black metal or neutral paint can give wooden designs a more contemporary look.
Can you hang wood wall decor without drilling?
Some lightweight pieces can use removable systems approved for the wall surface and object weight. Follow the product instructions; do not rely on adhesive alone for heavy timber, mirrors, shelves or items above beds.
Is reclaimed wood safe for indoor wall art?
Inspect it for splinters, nails, pests and unknown finishes. Painted timber from older buildings may need professional lead-paint assessment before sanding or cutting.
Can wood wall decor work in a damp room?
Choose wood, finishes and hardware rated for the location. Keep untreated pieces away from splashes and check for moisture damage. In a very damp room, use a more suitable material.
Final Thoughts
Start with one wall and one achievable project. Measure the space, choose a wood tone that works with your furniture, and test the arrangement before drilling. A lightweight woven frame is a manageable weekend project; a large mirror or mosaic needs stronger fixings and more planning. For inexpensive companion projects, explore these budget-friendly DIY home decor ideas. The aim is a secure, balanced display that feels personal, not a wall filled with every possible ornament.
For a manageable first project, choose the woven frame; for a larger piece, photograph a full-size paper mock-up and confirm the mounting hardware before buying materials.