
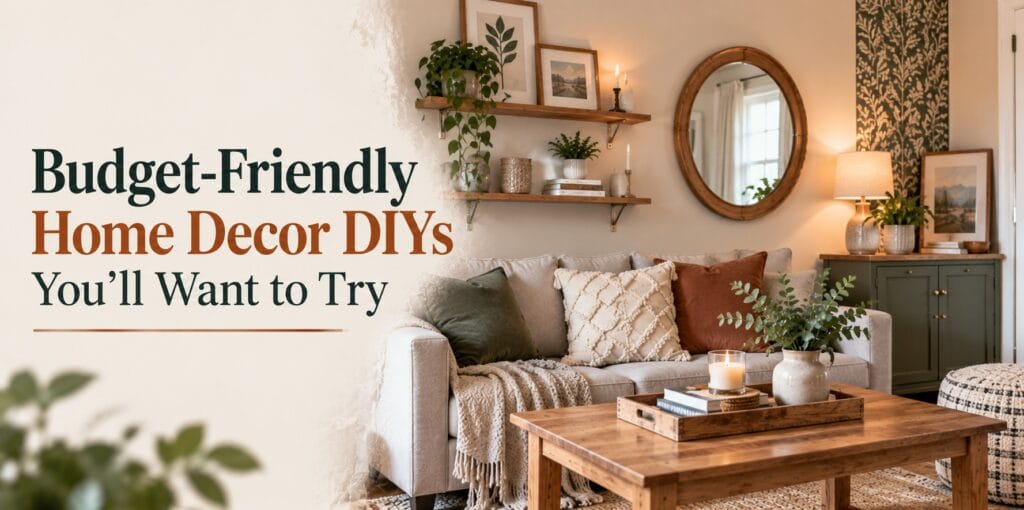
A stylish home does not require a large decorating budget or a full-room makeover. Start with one practical change that uses materials you already own. These budget-friendly home decor DIYs use affordable or reusable materials to refresh walls, storage, furniture, and accessories without making the room feel cluttered. They are especially useful for DIY beginners, renters, and small-space households because most projects can be adapted to contemporary, cozy, minimalist, or colorful interiors.
Quick Takeaway: Which Budget DIYs Give the Biggest Impact?
Start with the surfaces you notice most: refresh one blank wall, improve display storage, or update one tired furniture detail before buying extra decor. Renters can start with portable trays, frames, and fabric-covered boxes. In a small room, choose a project that improves storage or light without blocking walkways. If it requires drilling or expensive tools, compare a suitable ready-made or secondhand alternative.
- Fastest refresh: painted vases, thrifted frames, cushion covers, or a styled tray.
- Best for small spaces: a mirror frame, wall shelf, attractive storage box, or plant stand.
- Best renter-friendly option: removable accents and decor that does not require permanent alterations.
- Before you start: measure the space, reuse materials you already own, and test finishes on a small area first.
Which Budget DIY Fits Your Room?
Choose by the problem you want to solve, the materials you own, and whether permanent changes are allowed. The table offers approximate hands-on times, not price guarantees; allow extra time for preparation, drying, curing, and shopping. Check product labels and lease restrictions before choosing wall-mounted options.
| Project | Best use | Time | Renter note |
|---|---|---|---|
| Painted vase | Empty shelf | 20–40 min | Portable |
| Thrifted frames | Blank wall | 30–60 min | Use approved hanging |
| Fabric-covered box | Visible clutter | 30–60 min | Portable |
| Display shelf | Wall storage | 1–3 hours | Check drilling permission |
12 Budget-Friendly Home Decor DIY Projects
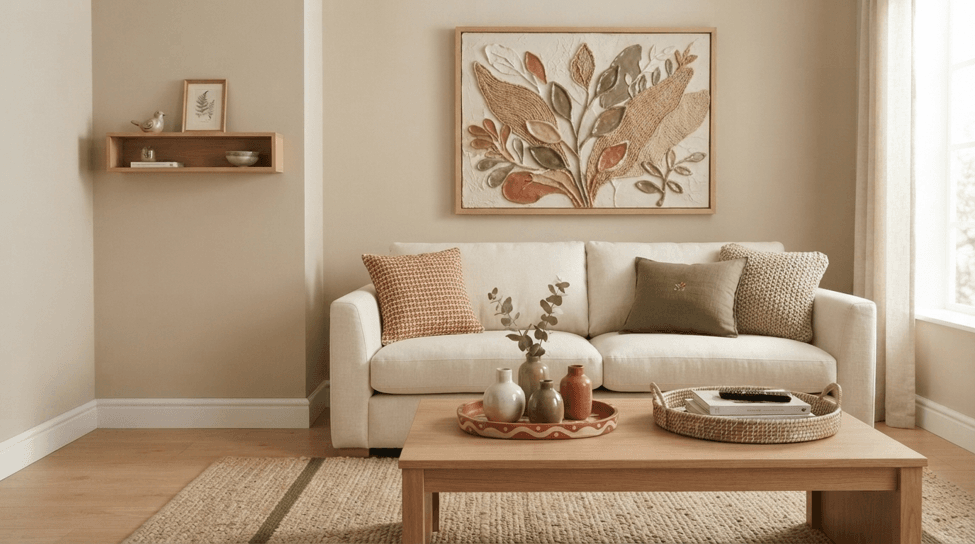
1. Create Textured Wall Art
Empty walls can be a problem for an unfinished room, but big pictures can be costly. Make textured wall art using an affordable canvas, lightweight modelling paste or filler suitable for craft use, a palette knife and a brush. Test the paste on a scrap first. Apply a thin layer to the canvas, then draw a palette knife through it to make a few arches or curved ridges. Stop before the pattern becomes crowded, and clean the tools as the product instructions recommend. When dry, coat the whole canvas with a neutral color like cream, beige, or warm white. This project works well over a sofa or console table. For a safer finish, let the texture paste dry completely before painting and use wall fixings rated for the finished canvas; avoid hanging heavy artwork directly above a bed. To achieve a more contemporary appearance, make two identical panels and hang them opposite each other. For more inspiration on creating inexpensive DIY artwork, see these DIY art projects from Architectural Digest.
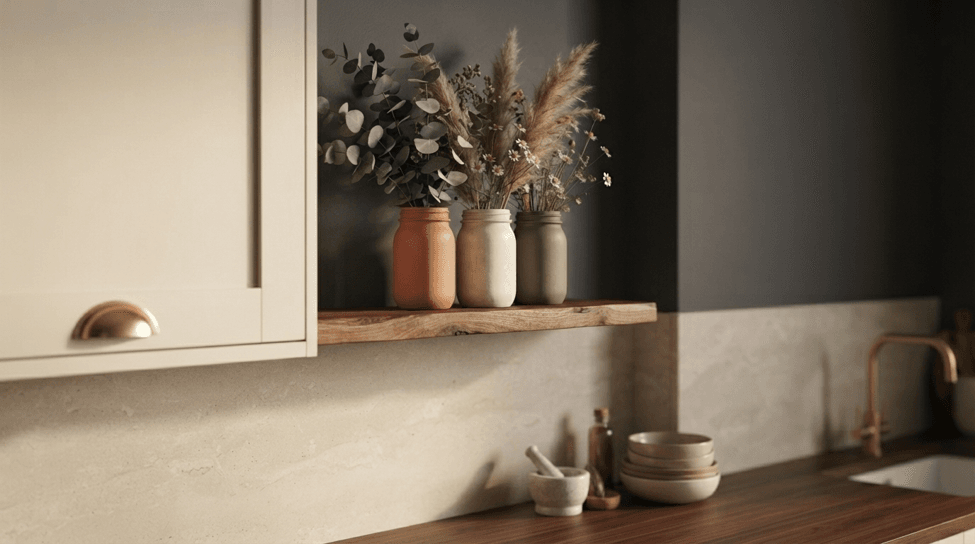
2. Upgrade Old Vases with Paint
For a low-cost shelf refresh, wash and dry one spare jar or vase, check that the paint suits its surface, then apply thin coats to the outside. Try one piece before painting a whole set so you can see whether the finish works with your existing decor. Use matte colors like terracotta, beige, olive green, or taupe. For a textured finish, test a small amount of baking soda mixed into acrylic paint on a spare jar first. Decorate only the outside and avoid treating painted containers as food-safe. After they are dry, decorate the vase with dried branches, artificial greenery, or seasonal flowers. Pair two or three vases of different heights on a tray, leaving room around them. Let the finish cure for the time on the label before styling. Keep painted jars for dry decorative stems unless the coating is rated for water contact.
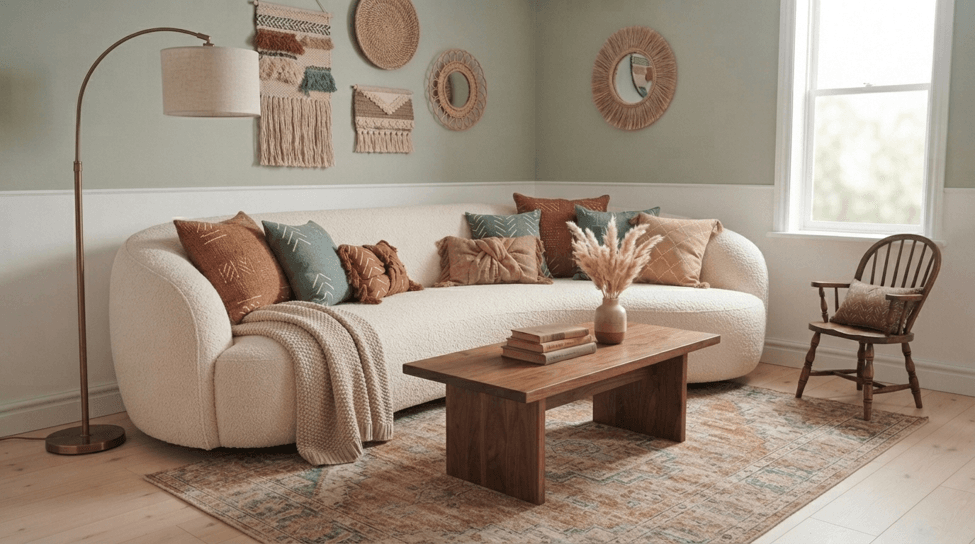
3. Make a No-Sew Cushion Cover
A no-sew cushion cover can change a sofa’s look without replacing the insert. Measure the cushion first and choose fabric compatible with your glue or bonding tape; a removable envelope back is more practical than permanently sealing the insert inside. To attach an inexpensive piece of fabric, glue it with fabric glue or iron-on adhesive tape along the edges. For a cozy, modern look, try linen-style fabric or cotton canvas in a color that repeats elsewhere in the room; follow the adhesive instructions and let the seams cure before using the cover. For a beginner-friendly cover, measure the cushion insert, cut one front panel and two overlapping back panels with the seam allowance recommended for the adhesive, then bond the edges according to the product instructions. Let the seams cure, turn the cover right-side out, and insert the cushion through an overlapping envelope opening so the cover can be removed for cleaning. Add a simple geometric design only after the cover fits.
4. Build a Simple Wooden Display Shelf
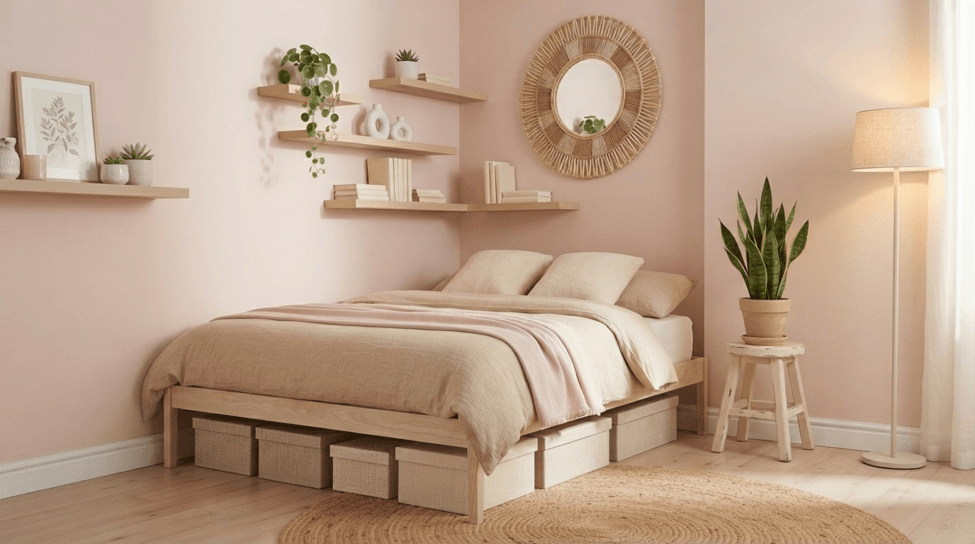
A small wall shelf can be used to store and decorate. Choose a sturdy board and brackets rated for the intended load, then install them with fixings suitable for your wall type and the manufacturer’s instructions. Sand the wood and leave it natural for the Scandinavian style or stain it in a warm walnut stain. Style the shelf with a few lightweight books, framed prints, or small plants, and avoid heavy breakable objects or burning candles on high shelves. Leave some open space on the shelf rather than filling it edge to edge. Before drilling, check for hidden electrical or plumbing services, use fixings rated for your wall, and follow the bracket manufacturer’s load limits. Arrange a few lightweight objects with open space between them; avoid heavy objects above seating. See our living room decor ideas for simple styling examples.
Photo note: The pictured shelves are above a bed. Treat the photo as styling inspiration, not an installation guide; choose a secure location away from sleeping and seating areas for your own shelves.
5. Transform Thrifted Picture Frames
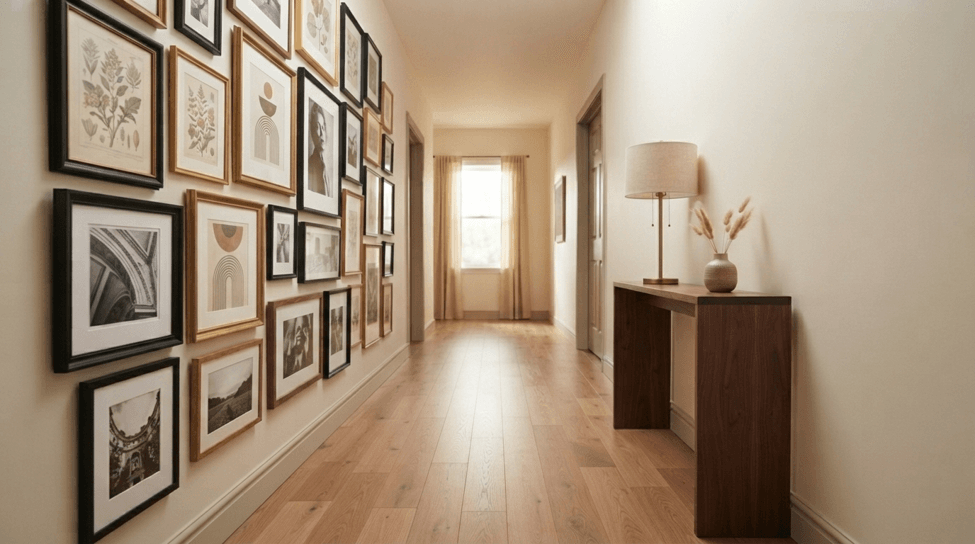
Choose secondhand frames with intact corners and glazing before spending money on paint. Remove the backing and artwork, clean the frame, and test a compatible finish on a hidden area. If you suspect old lead-based paint, consult EPA lead-safe DIY guidance before disturbing the coating. A consistent finish can make different frame shapes look like a deliberate group. Paint them all in black for a modern gallery wall, warm white for a softer appearance, or gold for a more elegant finish. Place personal photographs, botanical prints, or simple abstract artwork inside the frames. Remove the glass and backing before sanding or painting, work in a ventilated area, and allow the finish to cure. Test different gallery layouts with paper templates on the floor, then hang each frame with hardware suited to its weight and the wall. You can also find more ways to refresh inexpensive frames in our mirror wall decor ideas for a small living room.
6. Create a Decorative Mirror Frame
To refresh a plain mirror, measure the existing frame perimeter, dry-fit lightweight trim, and choose an adhesive compatible with the frame material. Wood strips, rope, or bamboo trim can change the style, but decoration must not replace the fittings that hold the glass securely. To attain a warm modern appearance, design a natural wood frame. Jute trim can give a small round mirror a coastal look, but use an adhesive suitable for the mirror frame and keep the decoration clear of the reflective surface. Dry-fit each piece before applying adhesive, and let the bond cure fully before handling the mirror. Keep the glass securely seated and mount the finished mirror with hardware rated for its full weight; avoid leaving heavy leaning mirrors unsecured. In small rooms, mirrors can be particularly helpful in reflecting light and opening up the space to make it feel more light and airy.
7. Make a Fabric-Covered Storage Box
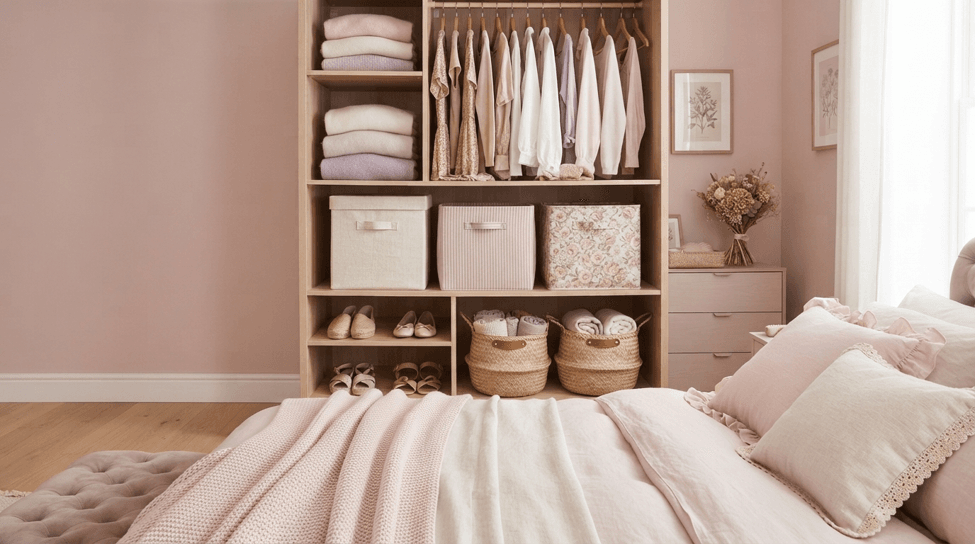
Turn a sound, dry cardboard box into visible storage for lightweight items. Measure the box, cut fabric or paper with enough extra material to fold over the edges, and avoid covering a damaged box that could collapse when filled. Choose a design that coordinates with your room. Neutral linen fabric makes for a great bedroom fabric choice, and patterned paper can lend interest to a home office or craft room. Reinforce the box base with tape, cut fabric to fit with extra material for folded edges, and smooth it into place. Let the adhesive dry before using the finished box for lightweight magazines, stationery, toys, or seasonal accessories. Store unplugged chargers only; do not operate or charge electronics inside a covered cardboard box. For more practical ways to make the most of limited space, explore these small space organization hacks.
8. Update Cabinet Handles
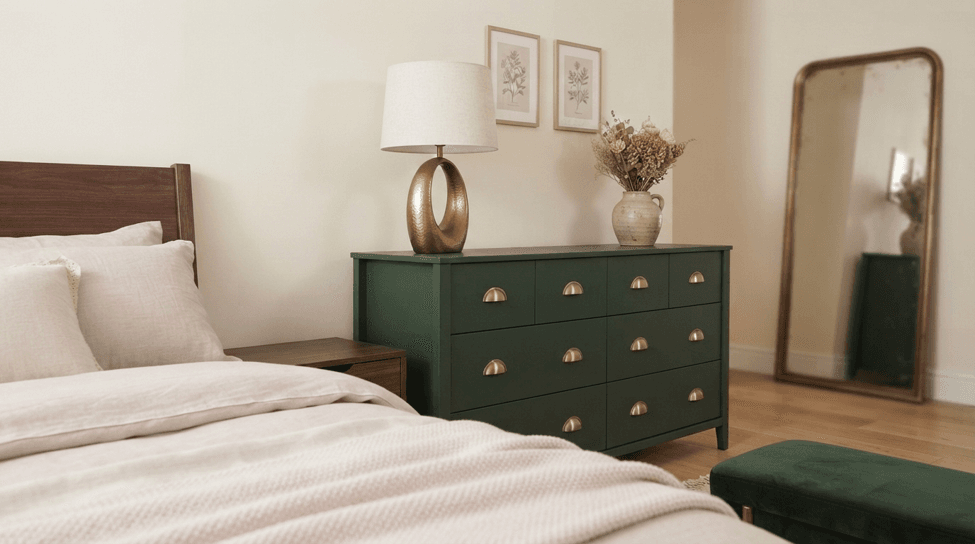
Changing cabinet handles can refresh furniture when the replacement fits the existing holes. Check whether you need single-hole knobs or two-hole pulls, then measure between screw-hole centres before ordering; keep the old hardware so a rental can be restored. Affordable options include brushed brass, matte black, wood, and ceramic hardware. Before ordering, measure the center-to-center distance between the existing screw holes so the new handles fit without extra drilling. If you also plan to paint the furniture, finish the paint first and install the new hardware only after the surface has fully dried.
Test one replacement handle for fit and grip before ordering a full set, and tighten the screws gently without overtightening. Keep the original handles and screws in a labeled bag so renters can restore them later.
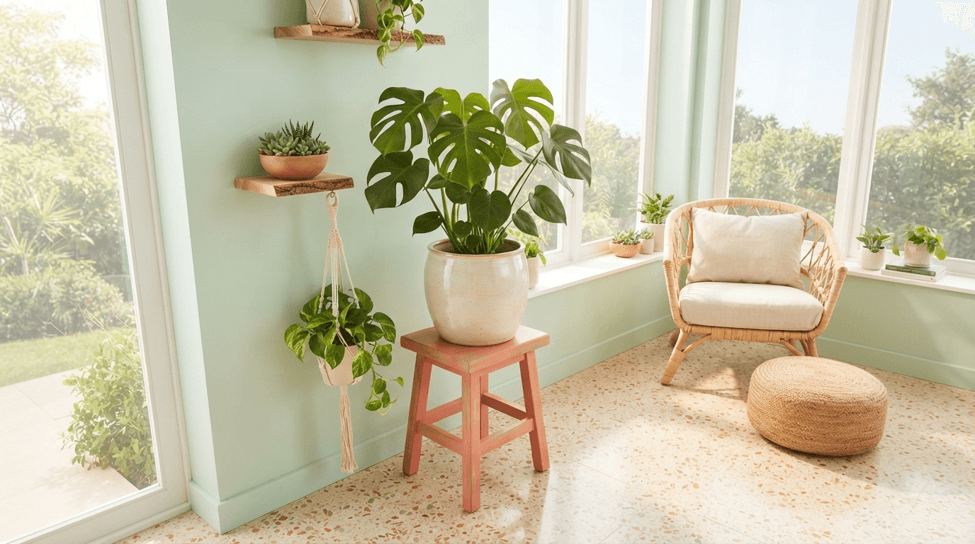
9. Create an Easy Plant Stand
A plant stand should hold the pot securely without creating a trip hazard. Reuse a level stool or small side table only if it is stable under the intended pot, finish rough edges with a suitable product, and protect the top with a waterproof saucer. For larger furniture with drawers or shelves, see CPSC furniture tip-over prevention guidance. Place a lightweight pot on a waterproof saucer, check that the stand does not wobble, and keep it away from busy walkways. Avoid loose stacks of crates or top-heavy arrangements that could tip over, especially where children or pets may bump into them.
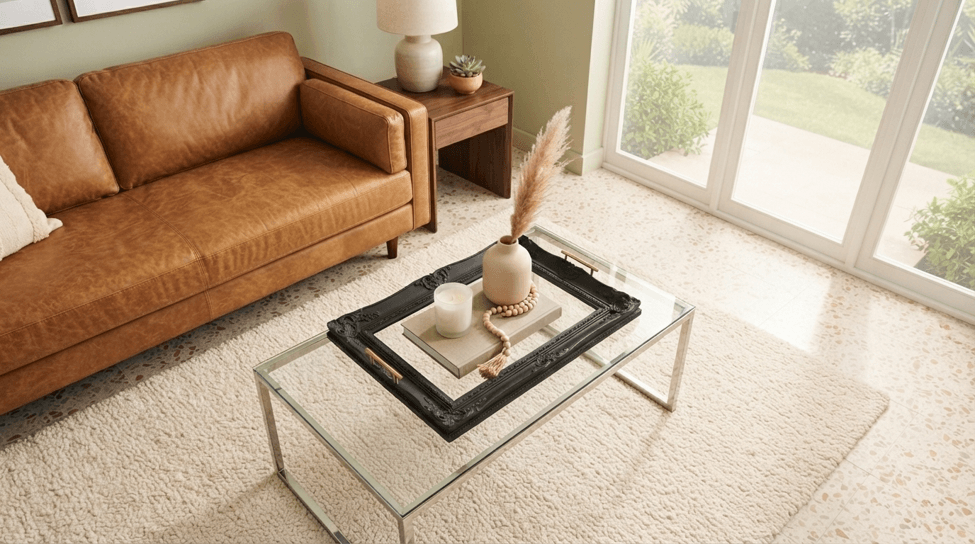
10. Make a Cozy Decorative Tray
A decorative tray keeps accessories neat. You can create one using a simple wooden board, an old picture frame, or an inexpensive serving tray. Clean the base, smooth rough edges, and finish it with paint suitable for the material. Add handles only if the base and fasteners can support them; otherwise keep the piece as a stationary display tray. Style it with a battery-operated flameless candle, small vase, book, or bowl. If you repurpose a picture frame, use it only for lightweight, dry display items—not hot drinks or anything that could spill. Use the finished tray on a coffee table, kitchen counter, or bedside table; keeping a few items together makes the surface easier to clear.
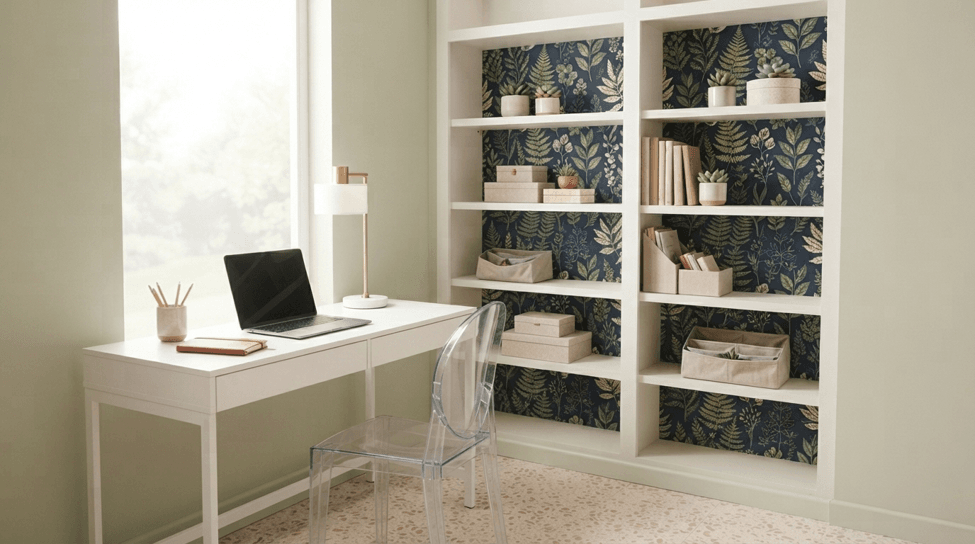
11. Create a Peel-and-Stick Accent
A small peel-and-stick accent can refresh a bookshelf back or drawer front without committing to a whole room. Check the product’s surface and removal instructions, then test a hidden patch for the recommended period. Removable finishes can still damage some paints or porous surfaces. Use it on the rear of a bookshelf, on dresser drawer fronts, in a small section of an entryway wall, or inside of a cabinet. Choose a simple pattern, clean and dry a small test area, and follow the product’s application and removal instructions before covering a larger surface. Removable finishes do not work on every paint or wall, so renters should check lease rules and compare these renter-friendly bedroom decor ideas first.
12. Make a Simple Candle Holder
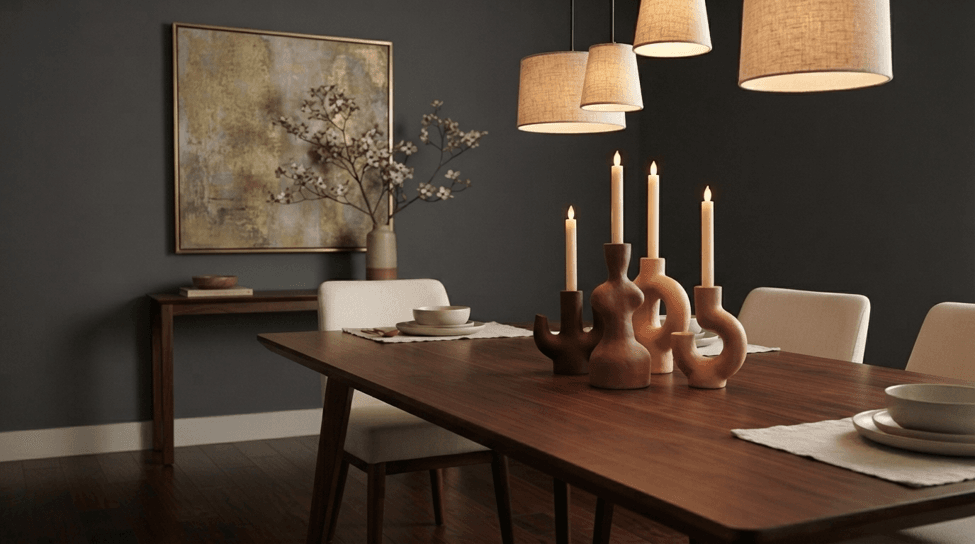
For a simple decorative candle display, shape a stable holder from air-dry clay or reuse a clean jar, then decorate only after the material has cured. For handmade holders made with wood, paint, glue or air-dry clay, use battery-operated LED tea lights instead of real flames. If you use real candles elsewhere, keep them at least 1 foot (30 cm) from anything that can burn, and extinguish them before leaving the room or going to bed. NFPA also recommends flameless candles for home use: NFPA candle safety guidance. Collect candleholders in various heights to make a relaxed grouping on a mantel, table, or shelf.
Photo safety note: The image shows lit candles as styling inspiration. For handmade holders made with wood, paint, glue, or air-dry clay, use battery-operated LED tea lights instead of real flames.
Which Budget DIYs Work Without Drilling?
For renters or anyone without power tools, start with painted vases, no-sew cushion covers, fabric-covered storage boxes, decorative trays, or a stable repurposed plant stand. These can be made on a table and moved later. Shelves and heavy mirrors still need appropriate fixings, so do not use untested adhesive hooks as a substitute for load-bearing hardware.
A One-Session Budget DIY Starter Plan
- Pick one problem: choose a cluttered surface, empty corner, or tired accessory.
- Reuse first: gather jars, frames, fabric, boxes, or a sturdy tray you already own.
- Measure and test: check the space and try finishes on a small hidden area.
- Make one change: paint a vase, cover a box, or arrange frames; allow the full drying time on product labels.
- Style and check: remove excess objects, confirm stability, and decide whether you need anything else.
How to Keep DIY Decor Costs Under Control
Keep costs realistic: count finishing supplies, safe wall fixings, brushes and protective coverings before choosing a project. Reuse jars, fabric, frames or trays already at home and compare the full supply list with a suitable secondhand alternative. Start with one small, visible improvement before buying materials for several projects.
Example: a small rental living room. Arrange three frames you already own on the floor to test spacing. Use postcards or family artwork instead of buying new prints. Refresh the frames with suitable leftover paint, allow them to dry, and choose hanging methods approved by your lease and rated for their weight. Repeat one accent color in an existing cushion or vase to create a focal point without adding furniture.
Example: a busy family entryway. Clear the floor and sort daily essentials before decorating. Cover a sturdy spare box with washable leftover fabric for gloves or hats, and place a tray you already own on a stable console for keys. Label shared storage, check that nothing narrows the route to the door, and avoid adding decor to crowded surfaces. The whole-home decluttering checklist can help you decide what to keep before spending money on storage.
| Starting point | Best next step | Cost to check |
|---|---|---|
| Materials already at home | Reuse a jar, frame, tray or fabric | Paint, glue, fixings and drying time |
| Secondhand item | Check condition and measure before buying | Cleaning, repairs and transport |
| New materials required | Compare the complete project with a ready-made option | Tools, finishing supplies and safe installation |
Budget DIY Cost Worksheet: Check the Full Price
Before starting a DIY decor project, count every item you need to buy: the base object, paint or fabric, adhesive, brushes, protective supplies, safe fixings and delivery. Include the cost of tools you do not own. Compare the total with a suitable secondhand or ready-made option rather than comparing only the price of the main material.
Illustrative budget, not current shop prices: Suppose you have 30 budget units. A secondhand frame costs 8, suitable paint 7, mounting hardware 5 and protective supplies 4. The total is 24, leaving 6. If the project also needs a tool costing 15, the real total is 39 and exceeds the budget. Borrowing a suitable tool or choosing a simpler project may be wiser.
Decision rule: Reuse an item when it is sound and fits the room; buy secondhand when cleaning and repairs are manageable; choose ready-made when DIY would require expensive tools, uncertain repairs or unsafe shortcuts. Allow for curing time as well as hands-on time.
Is Making Your Own Home Decor Always Cheaper?
No. DIY can cost more when you need specialist tools, multiple finishes, replacement hardware or repeated attempts. Compare the full project cost, including supplies and time, with a suitable secondhand or ready-made option. Choose the approach that solves a real problem without exceeding your budget.
Before you display a finished project: confirm the finish has cured, check that edges are smooth and that the piece is stable in its intended location. Keep vents, doors and walkways clear. A project should make the room easier to use, not simply look attractive in a photograph. Record the amount you spent and whether you would choose the same method again.
| Approach | Check the cost of | Choose when |
|---|---|---|
| Reuse | Missing supplies and safe fixings | The item already fits the room |
| Secondhand refresh | Item, repairs, paint and transport | Condition is sound |
| Ready-made | Price, delivery and installation | DIY needs costly tools |
Try this in a rented living room: Clear a crowded console, reuse a tray and group three framed photographs. Move an existing lamp to improve the display. Photograph the result before buying anything. If it works, stop there. If a frame needs repainting, treat that as a separate project and allow the finish to cure. This keeps the change portable and avoids unnecessary purchases.
Budget DIY Checklist Before You Start
- Choose one visible problem: a blank wall, cluttered surface, tired furniture detail, or awkward empty corner.
- Measure first: check wall width, shelf depth, hardware spacing, and the footprint of floor-standing pieces.
- Reuse before buying: look for jars, frames, fabric, boxes, trays, or small furniture you already own.
- Test the finish: sample paint, stain, adhesive, or peel-and-stick material on a small hidden area first.
- Plan for removal: renters should check lease rules before attaching anything to walls or built-in surfaces.
Budget Home Decor DIY FAQ
What is the cheapest way to make a room look more finished?
Start by reducing visible clutter, then improve one focal area with reused or low-cost materials. A coordinated group of frames, a painted vase, a styled tray, or a simple shelf can make a room feel more intentional without requiring a full makeover.
Which DIY decor projects are easiest for beginners?
Painted vases, no-sew cushion covers, thrifted-frame updates, fabric-covered storage boxes, and decorative trays are approachable because they need few tools and can usually be completed in small stages.
How can renters decorate on a budget without permanent changes?
Choose freestanding shelves, trays, textiles, framed art, removable accents, mirrors, and storage pieces you can take with you. Always check your lease and the product instructions before applying anything to a wall or built-in surface.
What DIY decor can I make with things I already own?
Reuse a clean jar for dry stems, cover a sturdy box with leftover fabric, refresh a picture frame with suitable paint, or arrange small objects on an existing tray. Choose one project, check the material and adhesive instructions, and buy only what is missing.
How do I make budget DIY decor look cohesive?
Repeat one or two colors or materials across a few pieces instead of matching everything. For example, warm wood frames, a cream vase and a neutral cushion can feel connected when grouped thoughtfully. Leave some empty space around the finished projects so they stand out.
Final Thoughts
The most effective budget decorating projects solve a visible problem instead of simply adding more objects. Reuse what you have, improve secondhand pieces, and prioritize changes that make the room both more functional and more personal. For another practical project list, see our 20 cheap DIY home decor ideas.
Next step: Pick one project from the comparison table, make a short materials list, and check the result before buying more decor.