
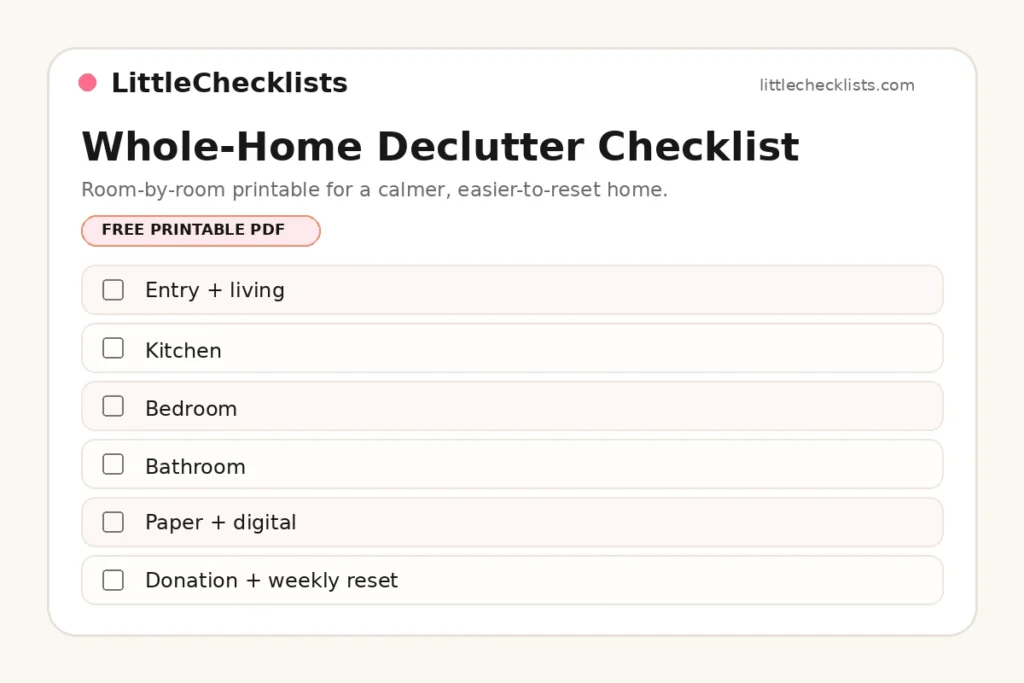
Quick answer: Use this free whole-home declutter checklist to clear one area at a time without trying to reorganize everything in one day. It covers the entry and living area, kitchen, bedroom, bathroom, paper and digital clutter, plus a final reset. Download the A4 or US Letter PDF directly from LittleChecklists.com.
This is a one-page PDF with 30 tick boxes across six areas: entry and living space, kitchen, bedroom, bathroom, paper and digital clutter, and the final reset. Choose A4 or US Letter below; both versions contain the same tasks. You can complete one section at a time rather than treating the sheet as a one-day challenge.
Download the Free Declutter Checklist Printable
Both printable versions are hosted on our own website and open as direct PDF downloads. Choose the page size that matches your printer before selecting Download.
Printing and accessibility tip: Choose A4 for 210 × 297 mm paper or US Letter for 8.5 × 11-inch paper. Preview the margins and print at actual size when everything fits; otherwise use your printer’s fit-to-page setting. The boxes are designed for marking on paper, not as interactive PDF form fields. If the print is too small to use comfortably, view the PDF zoomed in on a screen and copy a few tasks into a larger-print list or a notes app.
How to Use the Whole-Home Declutter Checklist
Start with one manageable area. Print the PDF, circle one section, set a 15–20-minute timer, and sort items into keep here, move elsewhere, donate, and recycle or dispose safely. Return the keep items, move donations toward their next destination, tick off finished tasks, and leave unfinished rooms for another day. This room-by-room approach works even when you cannot declutter the entire home at once. Give each object one next action: keep it here, return it to another room, offer it to someone who can use it, or dispose of it according to local rules. Carry misplaced items in one basket and empty it before finishing, so the sorting session does not create a new pile.
Choose a Decluttering Session That Fits Your Day
Ten minutes: Clear a single shelf, counter section or entryway corner, return the things you use, and finish with a clear surface. Avoid emptying a cupboard unless there is time to put everything back.
Twenty minutes: Sort one drawer or one category, such as food containers. Keep the items that serve a purpose and set aside anything that belongs to someone else for them to review.
Forty-five minutes: Work on one complete zone, such as the bedside area and a wardrobe shelf. Reserve the last five minutes for putting things away. These are sample sessions; your own pace matters more than a timer.
Room-by-Room Decluttering Tasks
1. Entry and Living Area
Start where everyday clutter enters the home. Remove rubbish and recycling, return loose objects to their real homes, limit shoes and bags by the door, clear one visible surface, and donate decor you no longer enjoy.
If your entrance is especially tight, our small apartment entryway ideas can help after decluttering.
2. Kitchen
- Check food dates and storage before discarding. A “best if used by” date generally concerns quality, not safety; food that was stored improperly or shows spoilage should not be used. Never use infant formula past its use-by date. See USDA food-date guidance, and follow local food-safety advice.
- Remove duplicate utensils you do not use.
- Match containers with their lids.
- Clear one useful counter-prep zone.
- Donate appliances that no longer earn their storage space.
15-minute kitchen example: Spend five minutes clearing one counter section, five matching food containers to lids, and five returning everyday tools to their proper places. If you share the kitchen, ask each person to identify their belongings before moving or donating them. Tick the counter task only when the surface is usable; leave the other cupboards closed for a later session. This is an example schedule, not a required pace.
3. Bedroom
- Remove clothes that no longer fit or suit your life.
- Clear the bedside surface.
- Empty the chair or floor pile.
- Sort one drawer at a time.
- Move off-season items out of prime-access space.
If you share a bedroom, agree which belongings each person will review before moving or donating anything. Clear a safe route to the door first, then work through one drawer rather than spreading everything across the floor. For compact rooms, combine the clean-out with our small bedroom layout ideas instead of immediately buying more storage.
4. Bathroom
Remove empty products, group duplicates, check medicines and cosmetics, and keep daily essentials within easy reach. Check labels before discarding batteries or cleaning products. For unused medicines, ask a local pharmacy about take-back options; the FDA medicine-disposal guide describes US options. In other countries, follow local health-authority guidance. For packaging, check local recycling rules and consult the EPA recycling overview where relevant.
5. Paper and Digital Clutter
Recycle obvious junk mail and make one action tray for papers needing attention. File records you must retain, and shred or securely destroy papers containing personal details only after checking applicable retention rules. For digital clutter, verify a working backup before deleting files: open a backed-up sample, then remove only confirmed duplicate downloads or screenshots. Unsubscribe from unwanted email lists, and tackle one folder at a time rather than bulk-deleting unfamiliar files. Tax, legal, financial and medical records may require special retention or disposal care.
6. Finish the Reset
- Fill one donation bag and move it to the next practical step.
- Take rubbish or recycling out promptly.
- Label only the storage that genuinely needs a label.
- Keep walking routes and exits clear.
- Schedule a short weekly reset rather than waiting for another major clean-out.
Before You Discard: A Quick Decision Check
Pause before removing items that belong to another household member, contain personal information, or require special disposal. Ask the owner before donating shared belongings. Check local retention rules before shredding financial, legal or medical records. Keep medicines and batteries secure while sorting and follow local take-back guidance rather than mixing them into a general donation bag.
For items you are unsure about, use one small, labelled review box and choose a date to revisit it. Keep that box away from doorways. A thoughtful decision today can prevent regret and avoid turning a quick tidy-up into a new pile.
What to Do With the Items You Sort
Keep and relocate: Put daily essentials where they are used, then carry items belonging in other rooms back to their usual places. Do not buy extra organizers until you have measured what remains.
Donate or reuse: Check that a local charity accepts each item and that it is in usable condition. Arrange a collection or drop-off date so bags do not sit in the hallway. If an item is not accepted, consider repair, a local swap or a material-specific collection service; never leave unwanted goods outside a charity.
Recycle: Check your local collection rules rather than assuming every package belongs in a recycling bin. The US EPA recycling overview explains why reducing and reusing come before recycling.
Three Realistic Ways to Use the Checklist
Shared kitchen: clear one usable counter
In a shared kitchen, start by moving each person’s belongings to an agreed spot. Pair containers with lids, remove empty packaging, and ask before donating duplicate tools. Finish when one food-preparation surface is clear. Avoid emptying every cupboard at once, because that can create more work for housemates.
Family living room: make the entrance safer
If toys and school bags crowd the doorway, clear the walking route first. Invite children to choose a few current favourites for an easy-to-reach basket and agree where school bags belong. Rotate the remaining toys rather than making rushed donation decisions for them. The test is whether everyone can put things back after use.
Low-energy day: work without lifting boxes
If standing, bending or carrying is difficult, begin seated with one drawer, a few papers or duplicate digital files. Use a tray for keep, relocate and review decisions, and ask for help moving anything heavy. Stop when the task becomes tiring; a safe, manageable improvement counts even if the rest waits until another day.
A Flexible 7-Day Decluttering Plan
Use this sample plan if a whole-home reset feels too large. Repeat or skip days to suit your home; it is a suggested sequence, not a strict deadline. For a shared home, agree on communal items before moving anyone else’s belongings. A ten-minute session still counts.
- Day 1: Entryway shoes, bags and one visible surface.
- Day 2: Kitchen counter and one drawer.
- Day 3: Bedroom chair, floor pile and bedside surface.
- Day 4: Bathroom empties and duplicate products.
- Day 5: Paper action tray and digital duplicates.
- Day 6: Donations, recycling and safe disposal.
- Day 7: Review finished areas and plan a weekly ten-minute reset.
What Should You Declutter First?
| If this is the problem | Start here |
|---|---|
| The home looks messy immediately | Entryway and the largest visible surface. |
| You cannot prepare food easily | Kitchen counter and duplicate utensils. |
| Mornings feel stressful | Bedroom floor, clothes and entryway bags/shoes. |
| You keep buying duplicates | Pantry, bathroom products and household supplies. |
| Paper keeps disappearing | Create one action tray before building a filing system. |
Declutter Checklist FAQs
How do I declutter when I feel overwhelmed?
Pick one small, visible area and stop after it is complete. A drawer, counter section or entryway is enough for one session. Finishing a small area is more useful than opening several unfinished piles. If standing, lifting or bending is difficult, choose a seated task, work in short intervals and ask for help with heavy objects. The checklist is flexible: skip tasks that do not fit your household or abilities.
Do I need storage containers before decluttering?
No. Declutter first. Once you know what remains, measure the actual space and decide whether a container solves a real problem. Our small apartment organization checklist printable continues from decluttering into room-by-room organization.
Can I use the checklist without a printer?
Yes. Open either one-page PDF on your phone, zoom in for readability, and copy the relevant tasks into a notes app or paper notebook. The tick boxes are designed for printing, not as interactive form fields; some PDF annotation apps may still let you mark them on screen. Start with one room and keep the original PDF as a clean reference for later sessions.
Is the printable free?
Yes. The A4 and US Letter PDFs are free LittleChecklists downloads for personal, home or classroom use.
How long does a whole-home declutter take?
It depends on your home and how much you own. Start with one 15–20-minute session, tick off completed tasks and continue when you have time. You do not need to finish everything in one weekend.
What should I do with items I want to donate?
Check that items are usable and accepted by the intended charity. Label a donation bag, arrange a drop-off or collection, and dispose of anything unsuitable according to local rules. Choose a real collection date rather than leaving the bag in a hallway. For example, set aside clean outgrown clothes in one labelled bag, confirm that a nearby charity accepts them, and move the bag out of the living area before starting another room.
Can I use this checklist in a small apartment?
Yes. Skip tasks that do not apply. Start with the entryway, kitchen counter and one drawer, then use our small-space organization ideas to maintain the cleared areas.
Find the rest of our growing library on the Free Printable Checklists page.
For a flexible day-to-day planning sheet, use our free daily checklist template with priorities, tasks, reminders and notes.
Adapt the Printable for Shared Homes and Different Abilities
Before clearing a shared cupboard, agree what is communal and what each person will decide about independently. For children, offer a small choice such as selecting three toys to keep on an accessible shelf, rather than removing their belongings without discussion.
If bending, standing or lifting is difficult, start with seated paper sorting, a reachable drawer or digital clutter. Ask someone to move heavy boxes and leave exits unobstructed. A successful declutter is a safer, easier-to-use space—not a particular number of bags removed.
After seven days: Circle the tasks that were useful, cross out those that do not apply, and note the one clutter hotspot that returns. Pair this printable with the daily checklist template if a short recurring reminder helps maintain progress.
Keep the Progress Going
A declutter checklist works best when every sorting session ends with a clear next action: return keepers, schedule donations, and remove rubbish or recycling safely. Start with one room and one checkbox today. For a weekly ten-minute reset, spend two minutes each on entryway bags, the kitchen counter, misplaced objects, pending donations, and your biggest recurring clutter hotspot. Keep the finished sheet as a record of what helped; if one pile keeps returning, change where those items live before buying more storage.